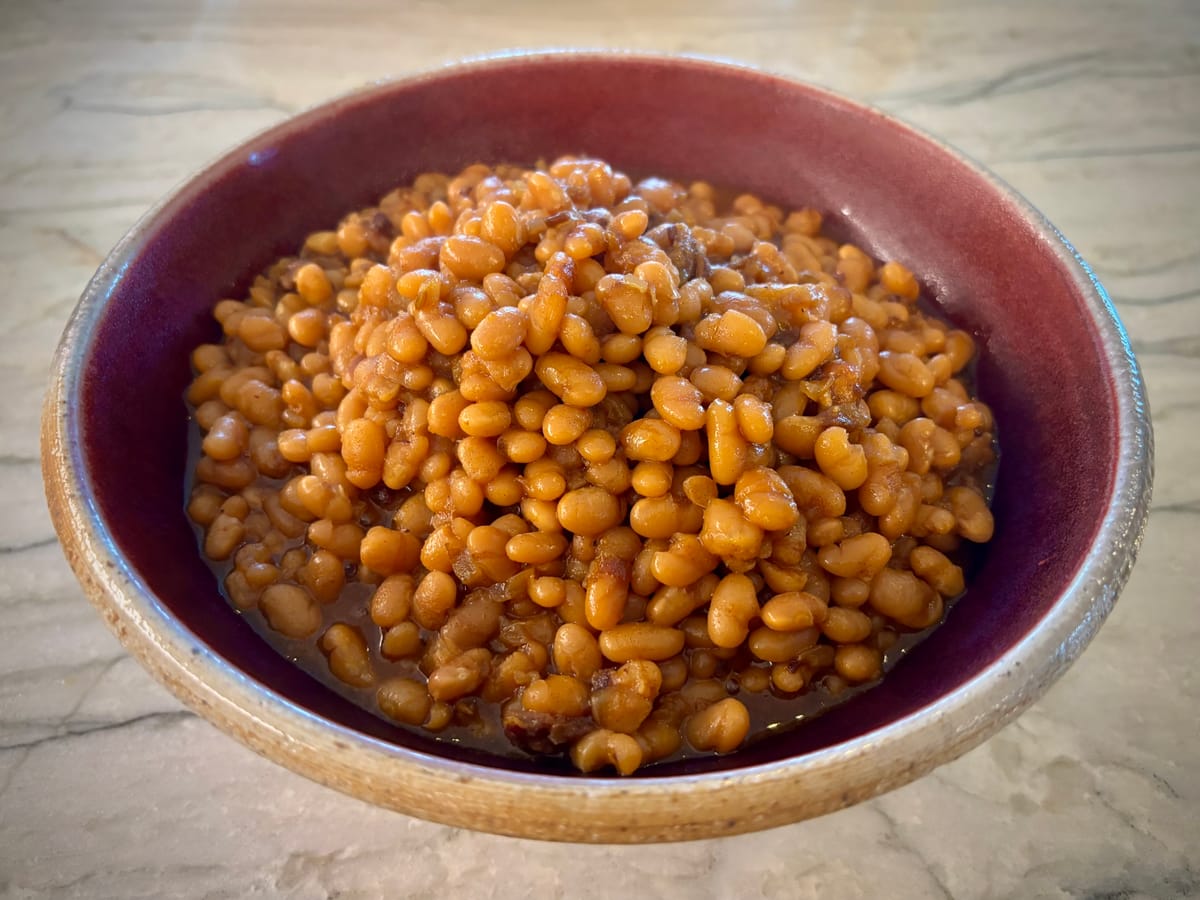
Vegan baked beans with dates
Helloooo bean friends! I had to take a little break, but I'm back with one of my favorites. The last few years I've done a lot of barbecuing, and every time I fire up the smoker, I always make a pot of beans. Because 1) beans are a great side, but also 2) I want to be sure to have a delicious protein for my guests who don't eat meat.
But far too often, baked beans are just bean-textured candy — too sweet, one-note, brown sugar slop. So I've been on a quest to make a pot that aren't just a sugary companion for meat. Beans that are great enough to stand alone as a meal in themselves.
After making many pots of relatively standard Boston baked beans, I found this recipe for beans with dates, and it's excellent, but way too complicated for my taste. So over many batches I've simplified it, and brought it back closer to Boston baked bean flavor profile that folks are familiar with, but remaining slightly on the savory side.
Anyway, I guess this is now my signature baked bean. And they (um, technically) have no added sugar! Lemme know what you think!
Ingredients
- A full batch of small white beans (what kind? see below) with broth
- 1 onion
- 4 cloves of garlic
- Olive oil
- Salt and pepper
- 1 tablespoon tomato paste
- 1 teaspoon ground cumin
- 2 teaspoons ground mustard
- 2 teaspoons smoked paprika
- 1/2 can lager beer, or water
- 8 big medjool dates
- 1 tablespoon dark soy sauce (see below)
- Regular soy sauce, to taste
Tools
- A largeish, oven-safe pot with a lid, for cooking the beans. I usually serve baked beans in the cooking pot, so maybe you wanna grab something pretty, like a enameled dutch oven
- A frying pan, skillet or saucepan for making the sauce
Steps
Before we begin, let's make a plan
Baked beans are pretty easy, but they take some time to make a great batch. It's possible to start in the morning and have a pot ready for dinner, but it'll be a rush. And I really don't like rushing.
Also, these beans benefit greatly from a gentle, unrushed cook. Our goal is a pot of perfectly tender beans in a syrupy sauce. If we go too fast, the beans will break down into the sauce, and you'll have a bowl of tasty, beany mush. That's perfectly okay food to spread on toast, but not the beautiful bowl of glossy beans that we're looking for.
So, we plan ahead, just a little.
- 1-3 days before it's time to eat cook your beans simply. and stash them in the fridge, submerged in their cooking broth.
- Sometime before we start the bake, make the sauce. I usually make it the morning of, but it's a-ok to get the sauce done a few days ahead of time.
- On the morning of, gently combine the beans and sauce and put them in the oven.
Cooking time on the final bake is going to be variable. It mostly depends on how much broth you've got in your beans to begin with. Our goal is to reduce it, almost completely. So I like to start my final cook pretty early in the day, reduce the beans to perfection, and then lower the oven to a “keep warm” setting (170F or so), until it's time to eat.
That way I'm not fussing with the beans while I'm preparing everything else for the barbecue!
First, cook a pot of beans
Most of my recipes are for a half batch of cooked beans, but this is party food, so I always make a full pot.

What kind of beans? My go-to is a bean you'll find in the Mexican section of your grocery store, labelled “small white beans”. I usually buy Goya brand. They're kinda bland on their own, but that's okay — baked beans are heavily sauced. Navy beans are also great. I like Camellia brand, but whatever they've got at your grocery store will do the job, as long as they're fresh. (See my guide to buying good beans if you're new here.) If you're feeling fancy, try Rancho Gordo's alubia blancas.
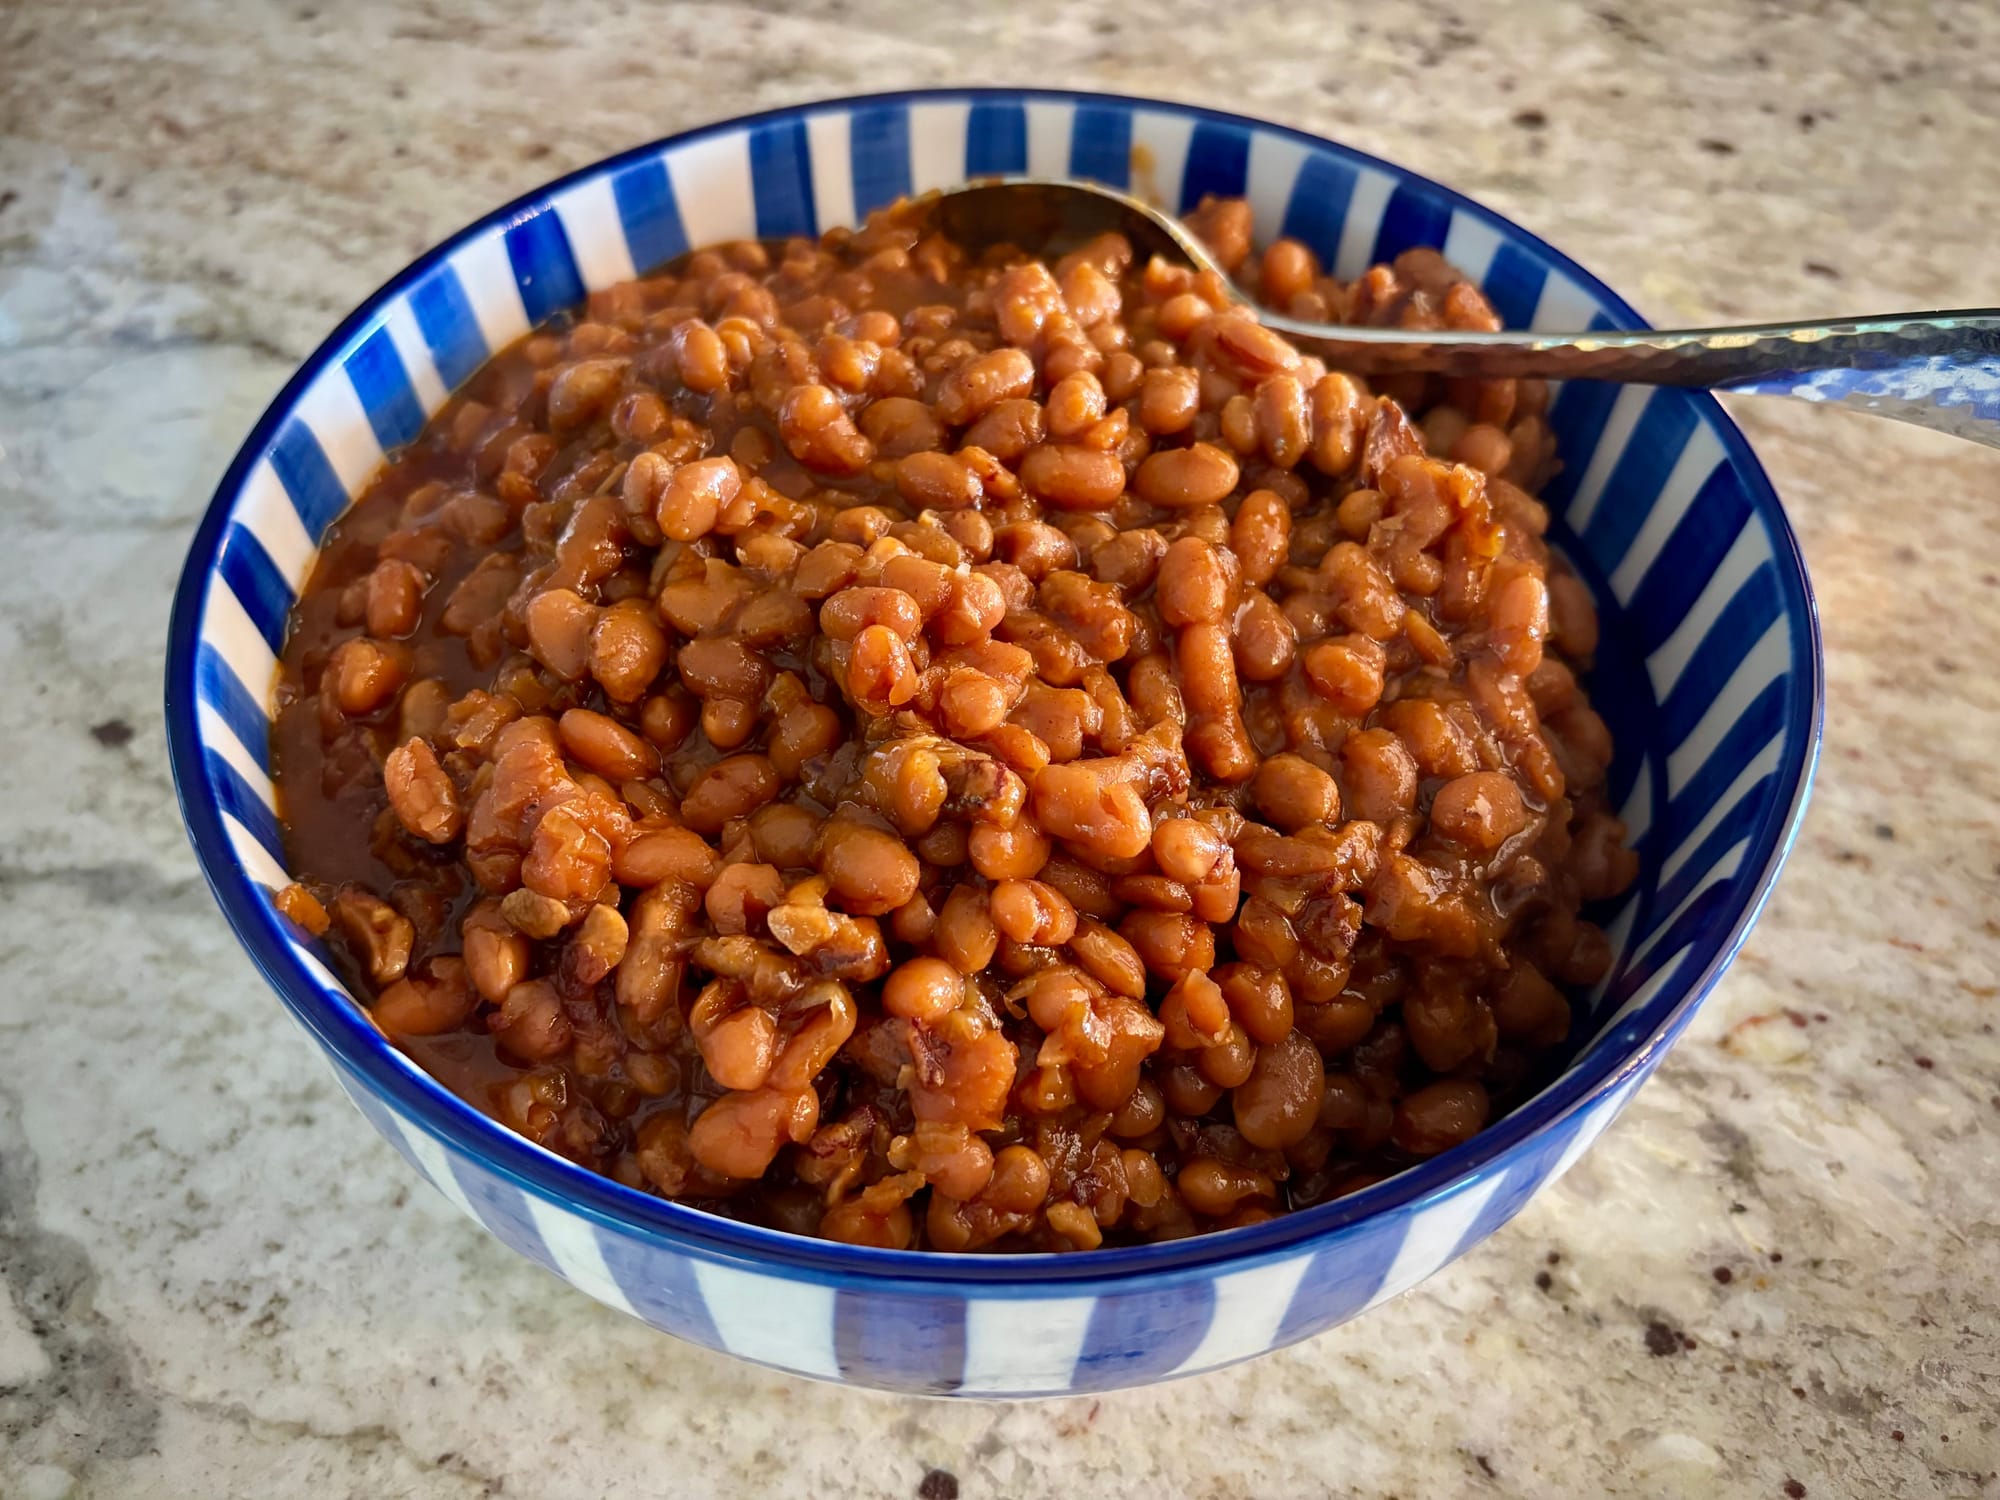
2025/07/24 Update: When I posted this recipe a few weeks ago, the beans were tasty but they were a mushy mess. But I was in a hurry to post before the holiday, so I rolled with it. I think I got a bad bag — lots were broken, straight from the package. Anyway, I made a fresh batch today and they came out great. I've updated the photo up top, but here's a side-by-side. Blue bowl: Old and busted. Red bowl: New hotness.

There's one bean I recommend you not use, yellow eyes. They're tasty beans, sure, but the texture, which the Rancho Gordo folks describe as “russet potato” is just wrong to me. I want smooth-textured beans with a clean broth that will reduce to be syrupy. Folks will recommend yellow eyes for baked beans, but I think they're too starchy for the job.
Make the sauce

Chop and sauté
Remove the pits from the dates and chop them up into small pieces. It's a bit of a pain — they'll stick to your knife — but worth the effort. (Don't sweat chopping them perfectly, they'll dissolve into the sauce.) Set aside.
Dice the onion and thinly slice the garlic. Heat a few generous glugs of olive oil over medium heat and cook 'em up with a little salt and pepper. (But don't over do it with the salt! We're gonna reduce the sauce, which will concentrate the flavor! And your bean broth is already salted!)
Once the onions are soft and translucent, add the tomato paste, cumin, mustard and paprika, and cook a couple minutes longer, until everything's rusty red and smelling nice.
Add the wet stuff and simmer
Deglaze the pot with beer (or water). Add the dates and dark soy sauce. Break up the dates with a spoon and simmer for a few more minutes, until everything comes together and the alcohol cooks off the beer.
So, what's up with dark soy sauce? It's a chinese ingredient, used more for color than flavor. It's less salty than regular soy sauce, and thicker. Sometimes you'll find it with mushroom flavor added — that's good too! If you cant find dark soy, or don't want to add a bottle to your pantry, or if you're eating gluten-free, skip it! Your beans will still be tasty, just look a little less brown. Instead you might also add a little regular soy sauce or tamari for salt, plus some dark molasses for color, but be aware that it'll add sweetness too!
Once the sauce is saucy, give it a taste. It should be pretty intense, but balanced: sweet and salty and mustardy. If it tastes overly sweet, add a splash of regular soy sauce. Stir and taste and maybe add a little more until it's balanced — kinda like a nice salted caramel.
Sauce the beans and bake
If you cooked your beans yesterday, they'll be fridge-cold. I like to cook my beans in a pot that can go from the stove (for the initial cook), into the fridge overnight, and then into the oven, and finally to the table for serving. Saves a lot of washing!
Gently (gently!!! we don't want to break any beans!) stir the warm sauce into the cold beans and cover with a lid. Stick the pot into a 350F oven.
Check on the beans after an hour or so. When they're bubbling nicely, remove the lid. Now it's time to reduce. Here on out, you'll want to check on the beans every 30 minutes or so. The goal is to reduce the liquid until it drops below the level of the beans, but not so low that everything sticks to the pan.
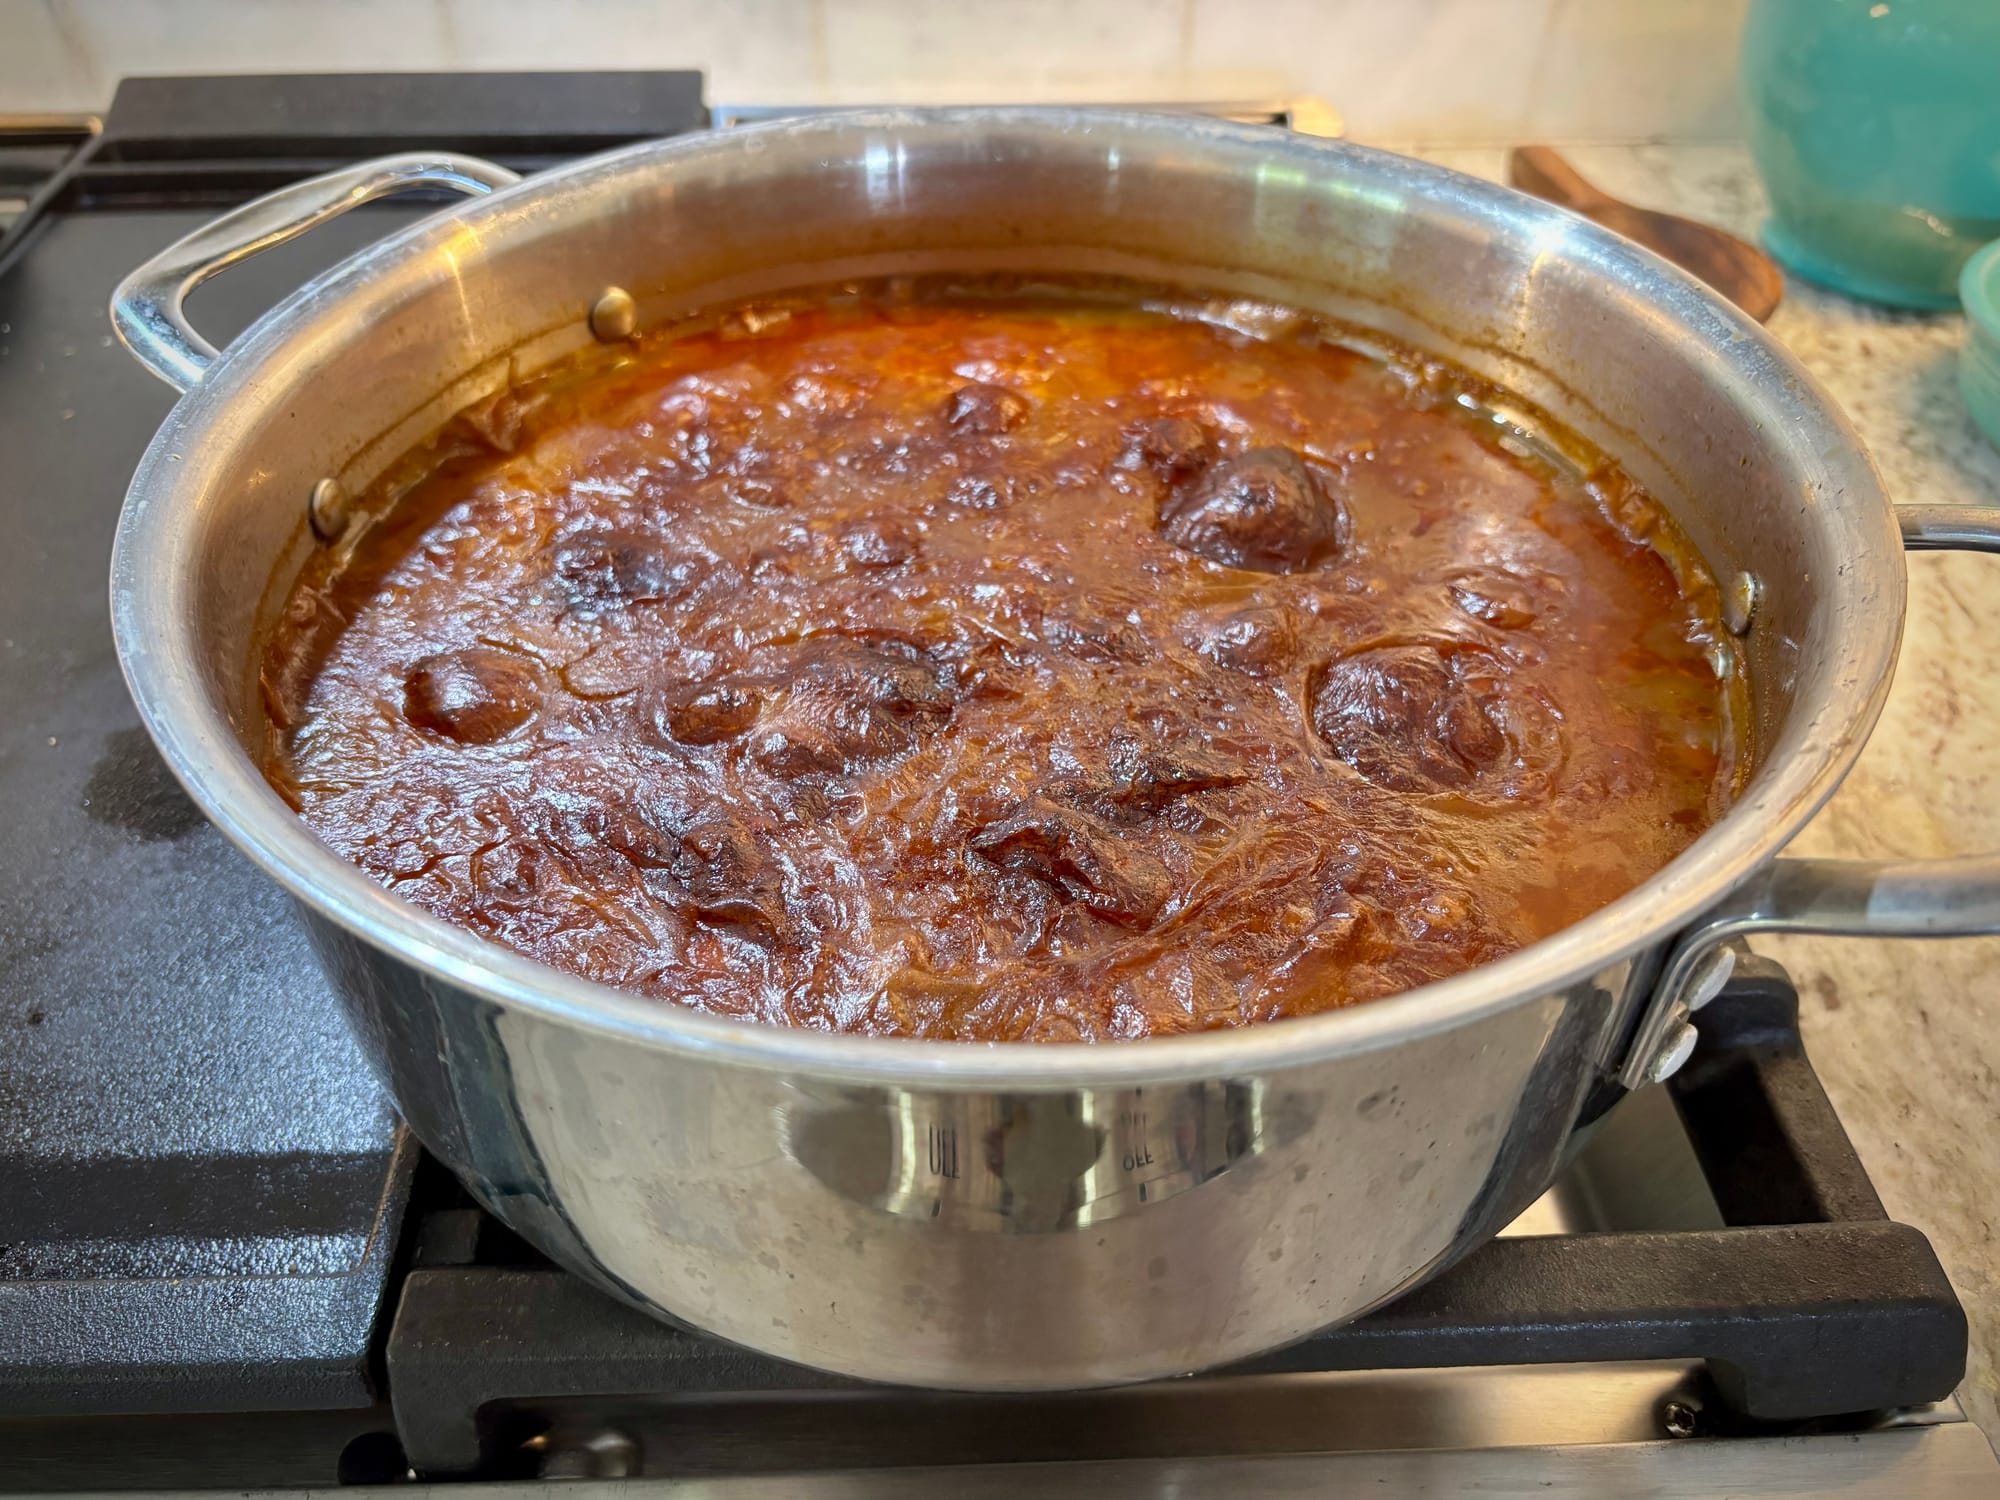
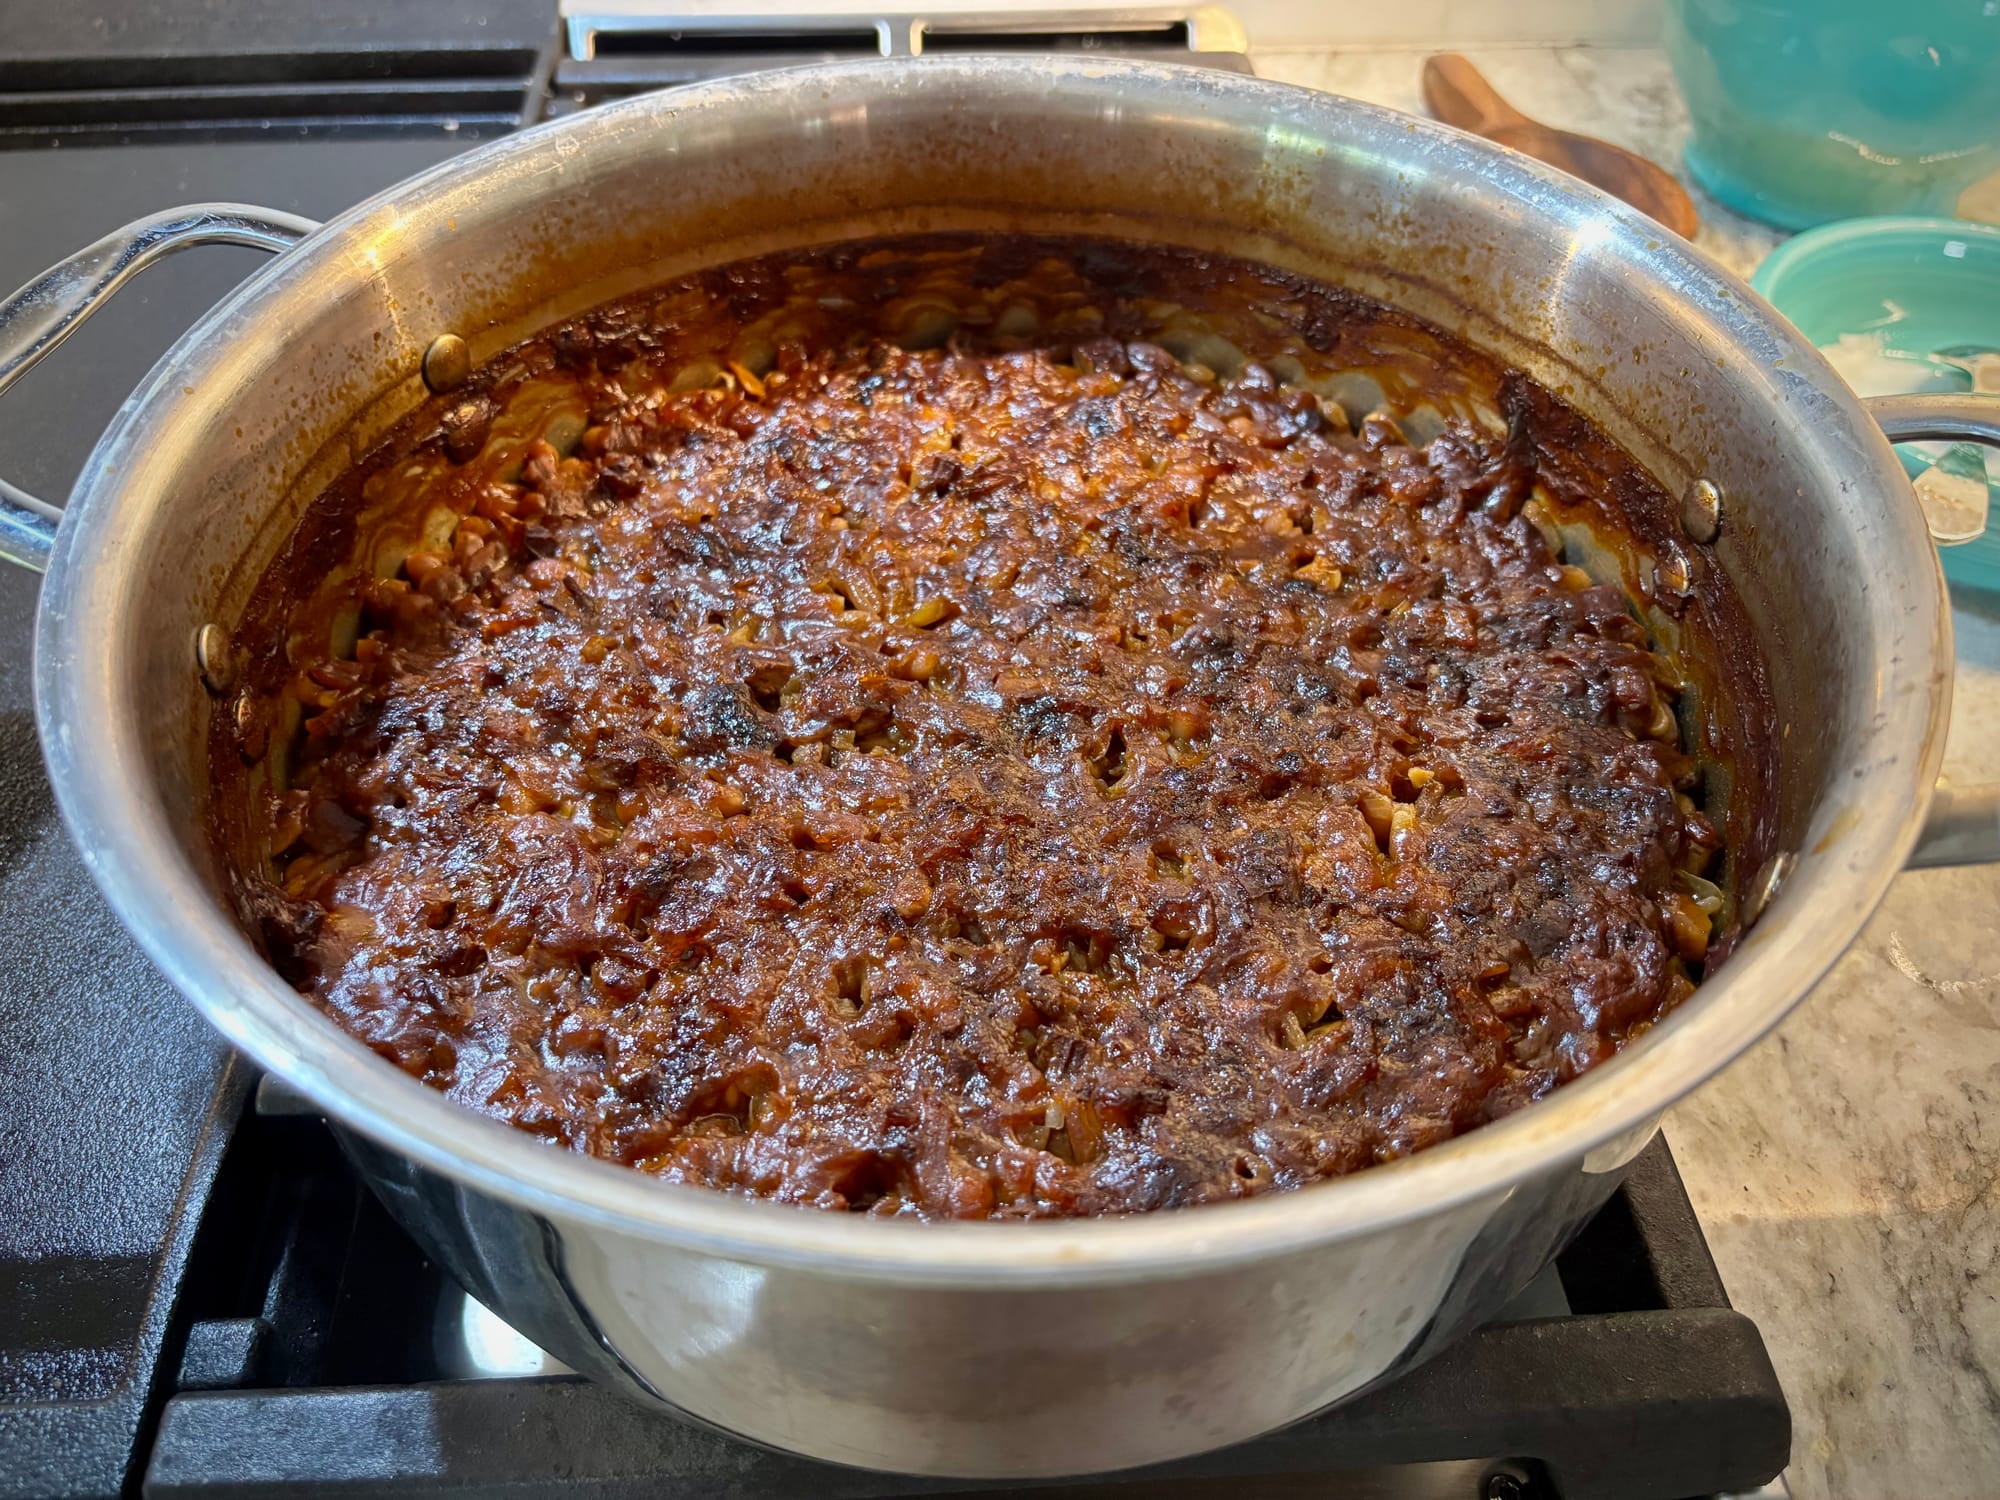
This will take at least a few hours, probably longer. (The batch I made yesterday cooked for about six hours.) As the liquid on top of the beans develops a crust, gently break it up and submerge the brown bits so they can dissolve back into the sauce — that brown stuff tastes really good! But try to muster the self control to NOT STIR THE POT. Some broken beans are inevitable, but we're trying really hard to keep 'em intact and shiny.
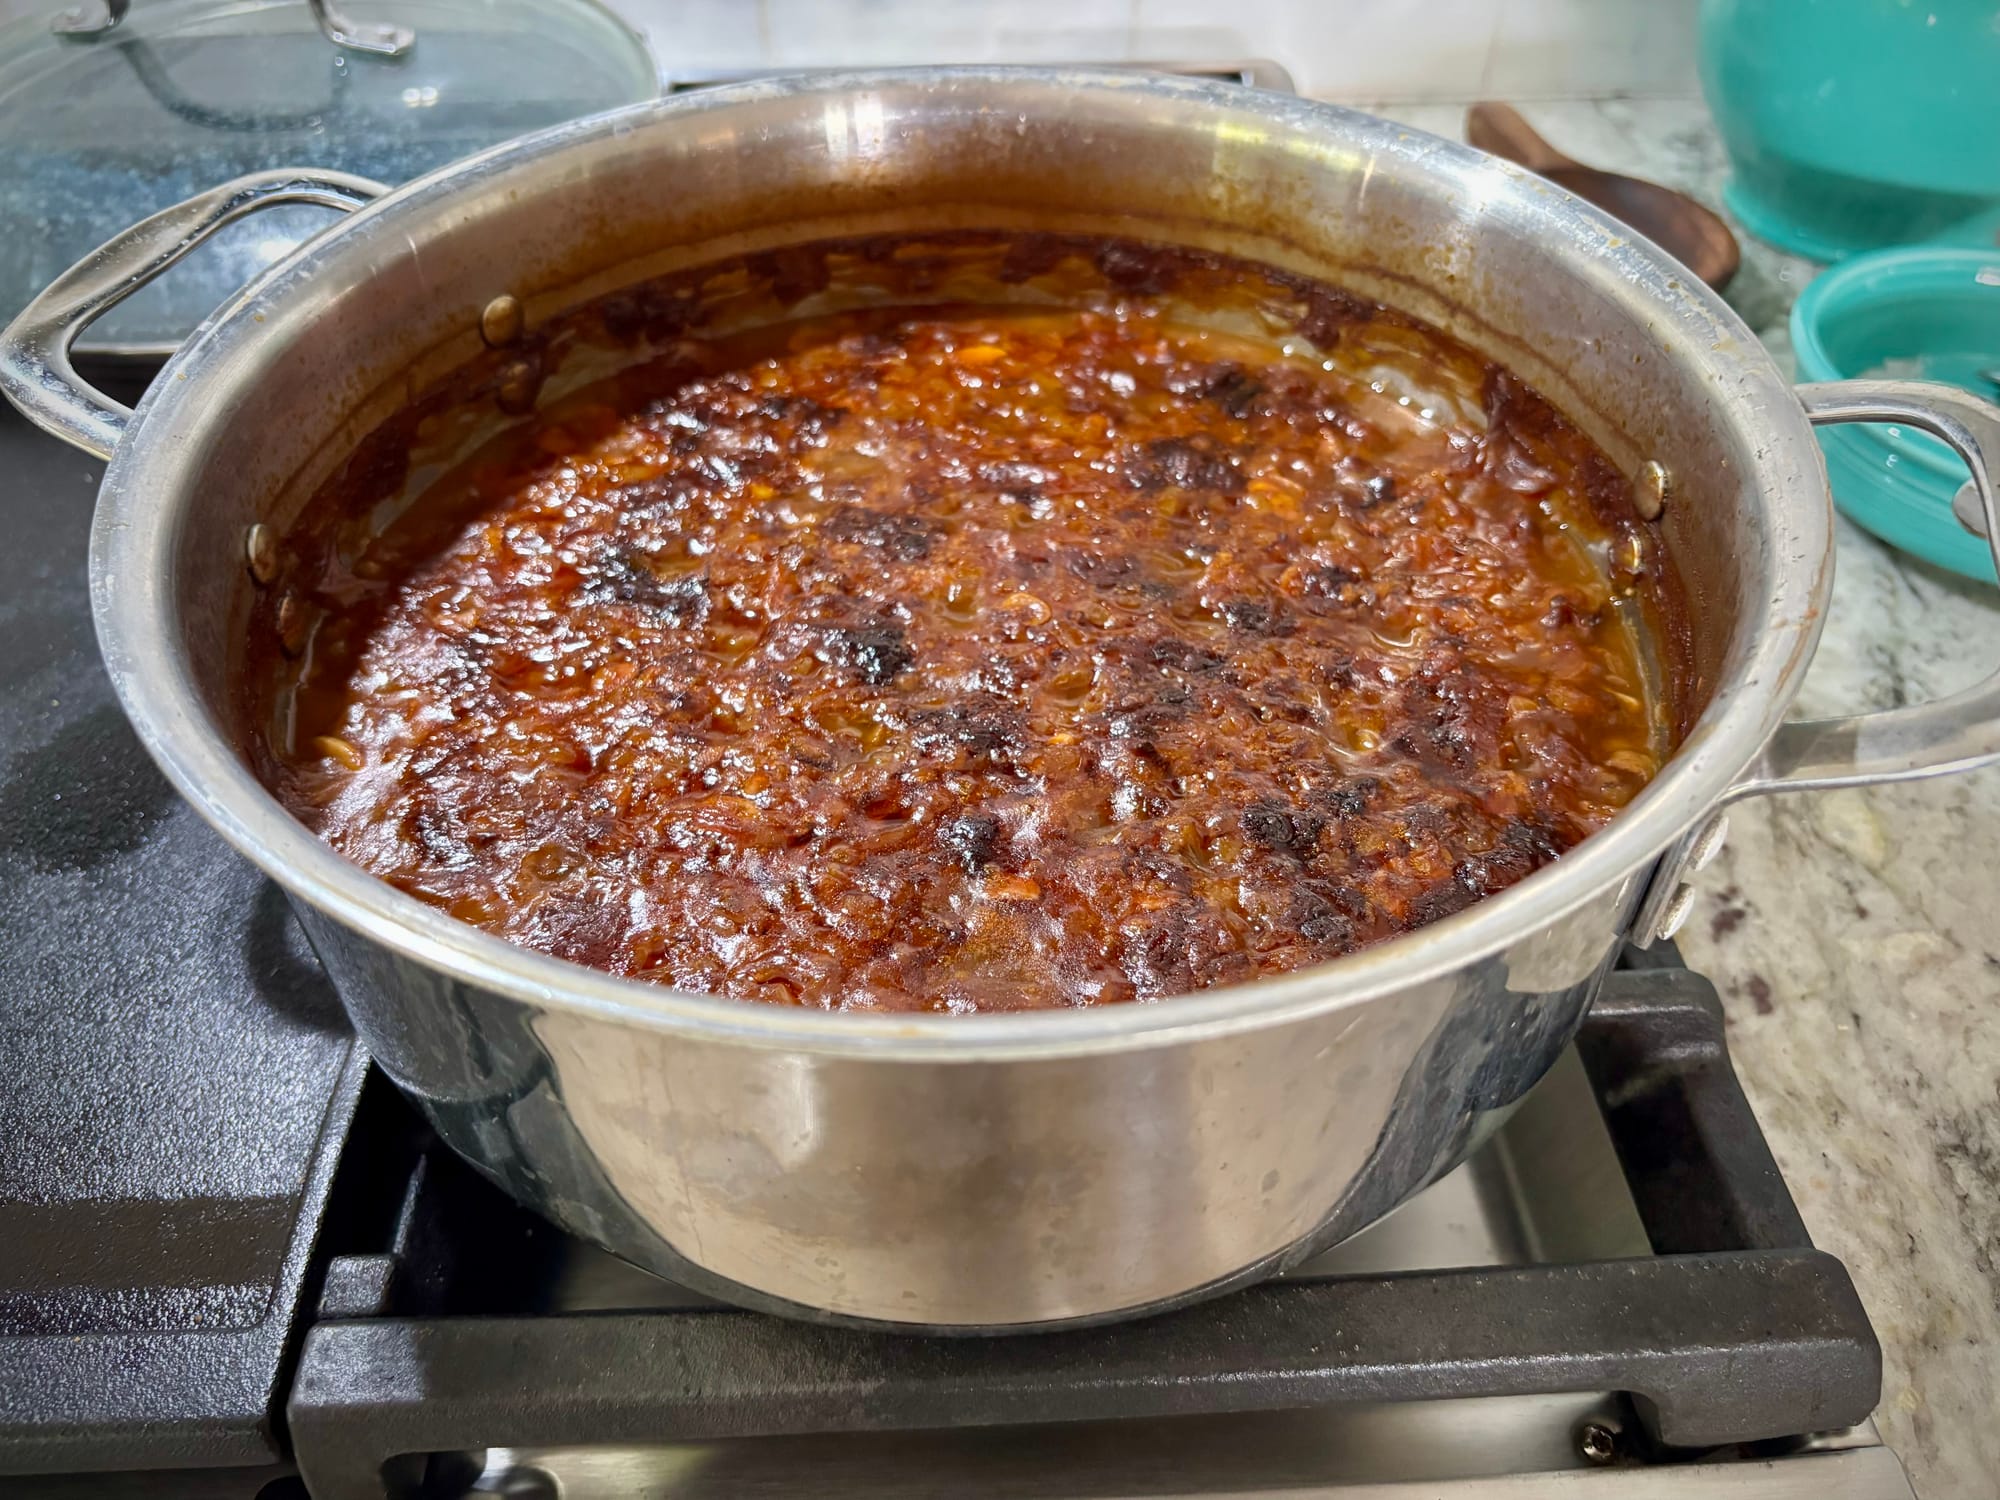
Eventually you won't be able to break up the sauce anymore, because the everything has reduced to the level of the beans, and you're almost done. Let a final crust form on top of the beans, and we're good to go.
(If you went too far and your beans are dry and starting to stick to the pot, just add some hot water to bring the sauce back to life. They'll be fine as long as you haven't burned the sauce.)
And that's it! When you're happy with your beans, open the oven door to let it cool down a bit, reduce the oven to “keep warm” (170F or so), and cover the beans with a lid. They can sit until it's time to eat!
Whew!
That was a long one. Baked beans are the fussiest recipe in my file, but with a little planning, patience and practice, they're still pretty easy. Just be sure to keep an eye on them!
I hope this one makes it onto your holiday table!